Looking for the best photo books for kids? After years of trial and error, I’ve found a simple, stress-free system (using Mixbook!) that helps me stay organized and create custom photo books my kids will treasure forever.

*Thanks to Mixbook for sponsoring this post. This post contains affiliate links. If used, I earn a small commission at no additional cost to you*
Hi friends!
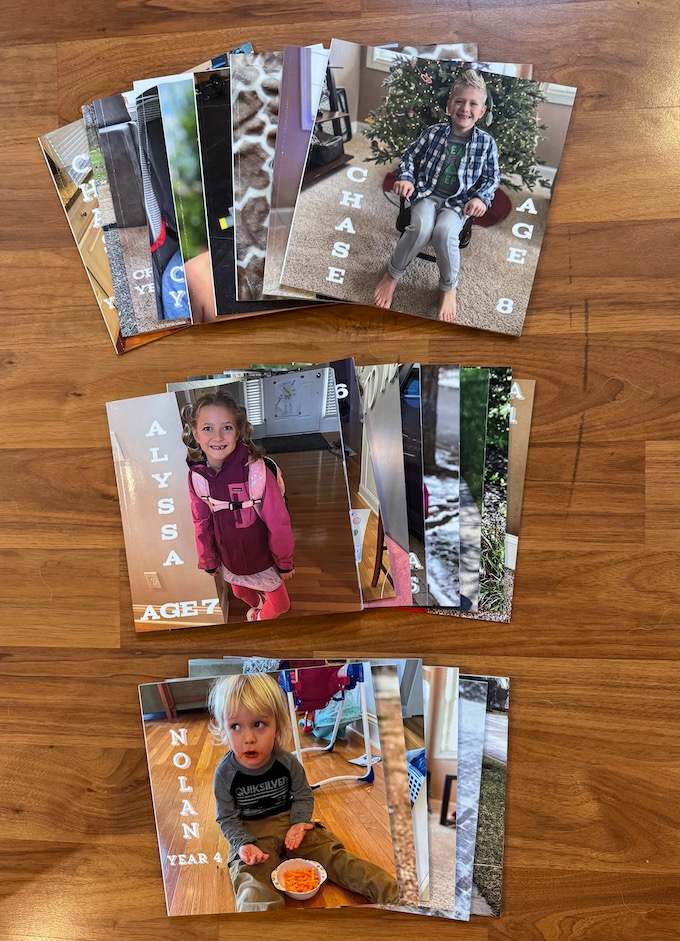
About 6 years ago, I decided to start making yearly photo books for my kids. My oldest was already five years old and I had a three year old and a one year old as well, so I was a bit behind and it felt very overwhelming. I spent a long time going back and making photo books from previous years and when I was done I was exhausted.
I knew going forward I needed to develop a way to stay on top of making the books so that I didn’t fall behind again. I tried a few different ways, finally found one that worked and I’m proud to say that for the past 6 years I’ve used and stuck to this approach with great success!
How To Make A Custom Photo Book with Mixbook
We all know there are several photo book companies out there and my absolute favorite is Mixbook. Both their app and website are so user-friendly and the books are beautiful and high-quality. If you want to design your own books, there are tons of different layouts to choose from for each page with borders, no borders, multiple photos per page, text etc. And if you need a starting point, there are endless options of pre-designed layouts for every occasion.
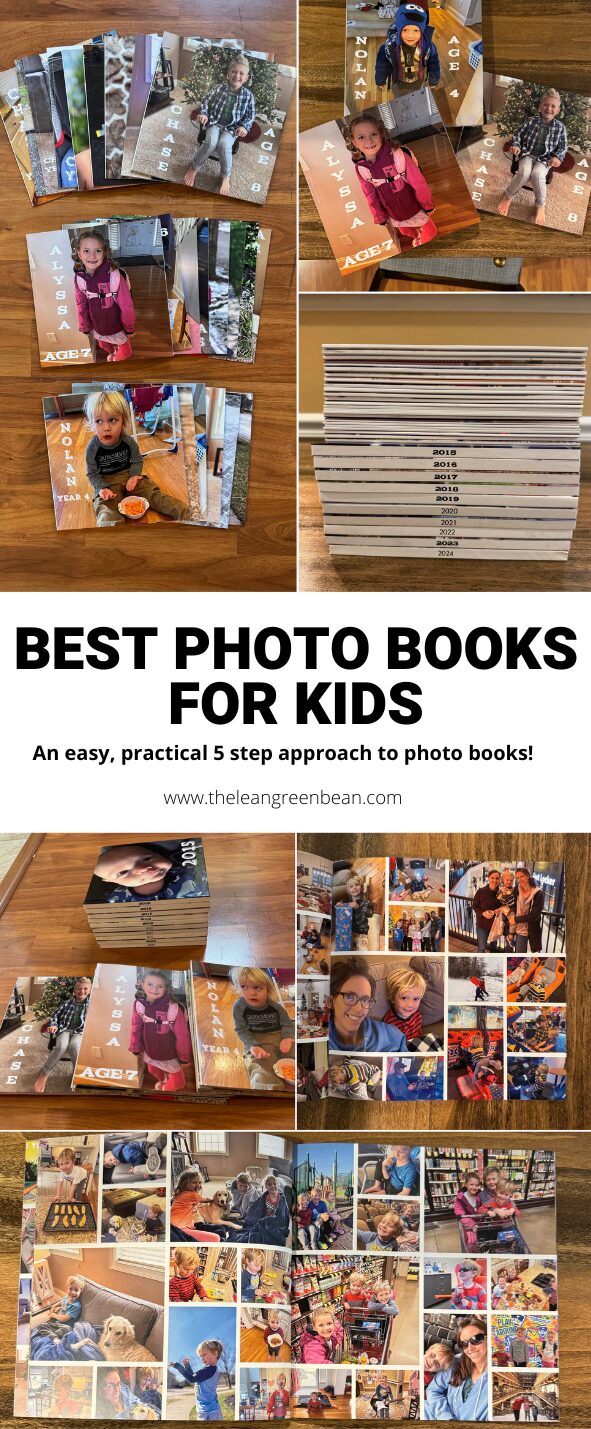
Each year, I make a photo book for each kid and myself. For the kids’ books, I chose to make them softcover so they don’t take up much space and they’ll be easy for them to take with them when they move out someday. For my own book, I chose the hardcover option.
Best Photo Books For Kids: My 5-Step System
Over the years, I’ve refined my approach to making photo books and have discovered that the absolute best way for me to stay on top of things is to start a draft of each book and add to it every single month.
If you’re already ready to order, from 9/2/25 – 12/31/25, you can use this affiliate link and the code “MIXLEAN50” for up to 50% off and free shipping on orders over $79!
If you need more detailed instructions about my 5-step system, here’s exactly what I do:
Step 1: Schedule a reminder
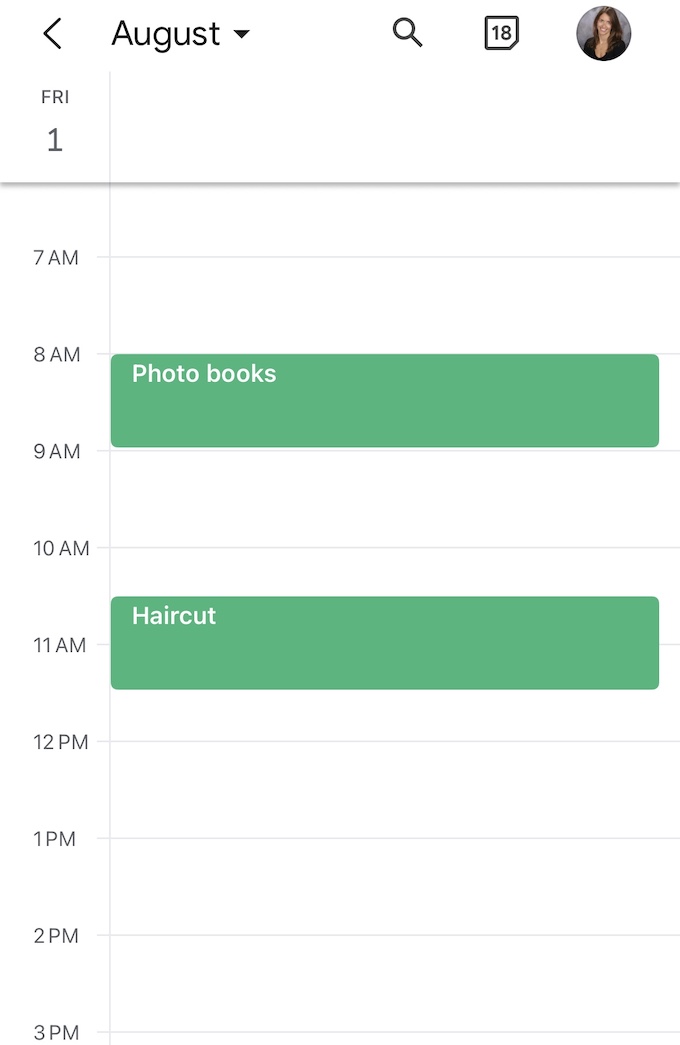
I’ve added a monthly reminder to work on my photo books on the first of every month. The calendar reminder also triggers an email that sits in my inbox until I get it done. You could even set it up to trigger a secondary reminder the next day if you find you need another push to get it done.
Step 2: Add to individual albums
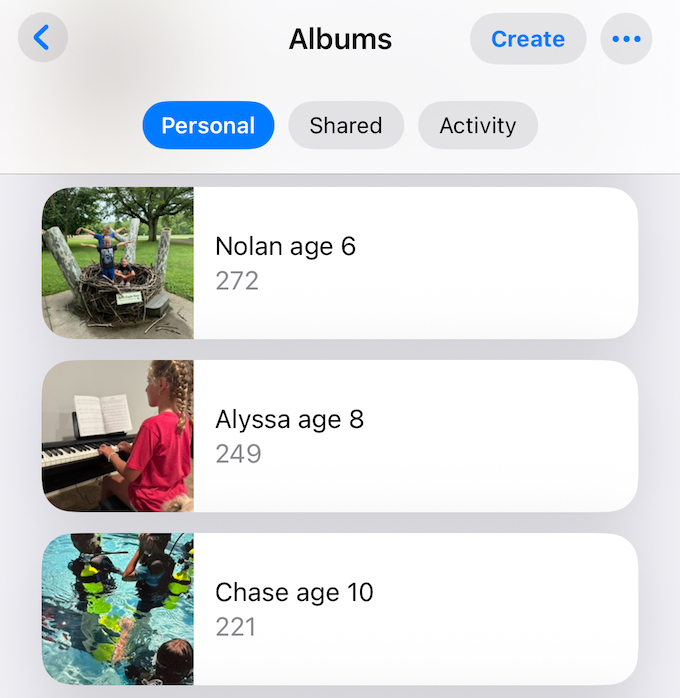
On my phone, I have an album in my photos for each kid, plus one for my yearly photo book. For the kid books, I go from birthday to birthday so there’s a book for each full year of their lives. For my own family book, I go by calendar year from January – December.
At the end of each month, I scroll back to the beginning of the month in my photos and select photos for each kid from the month and add to the appropriate album. You can add as many or as few photos as you like. I typically add 20-30 per kid to each album and 50-60 to my yearly album for the family book.
Step 3: Upload photos via the app
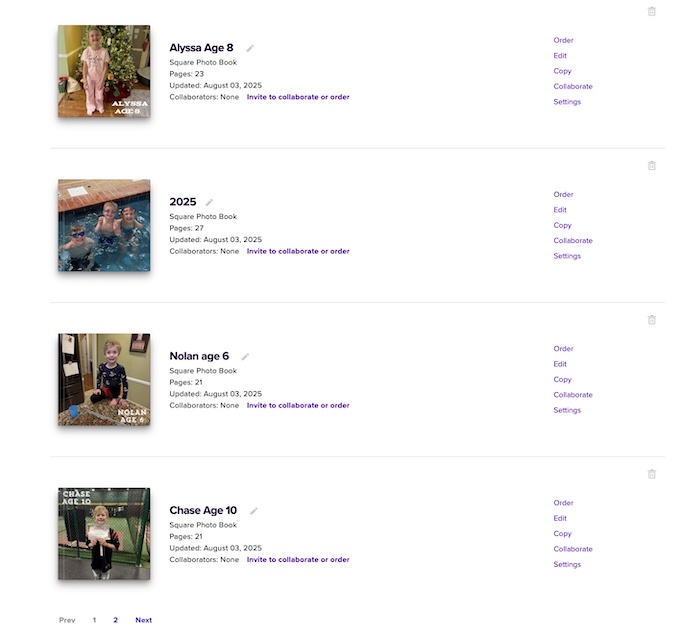
On the Mixbook website, I start a draft of a photo book. These drafts can live in your account on the website for as long as you want. You can easily save your progress and come back to them each month to add more.
I use the Mixbook app to add all the photos I just put into each kids’ photo album into the Mixbook draft of their photo book and click save.
Step 4: Add photos to photo book drafts
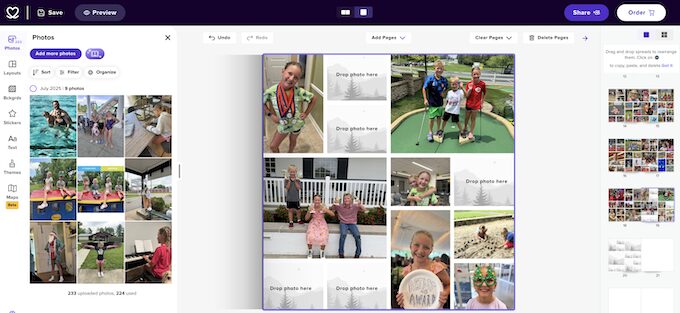
At this point, you can continue to use the app but I find it easier to switch over to my computer. Once all the photos are uploaded to each book, I go to the Mixbook website and drop the photos into the page layouts I’ve chosen for each book.
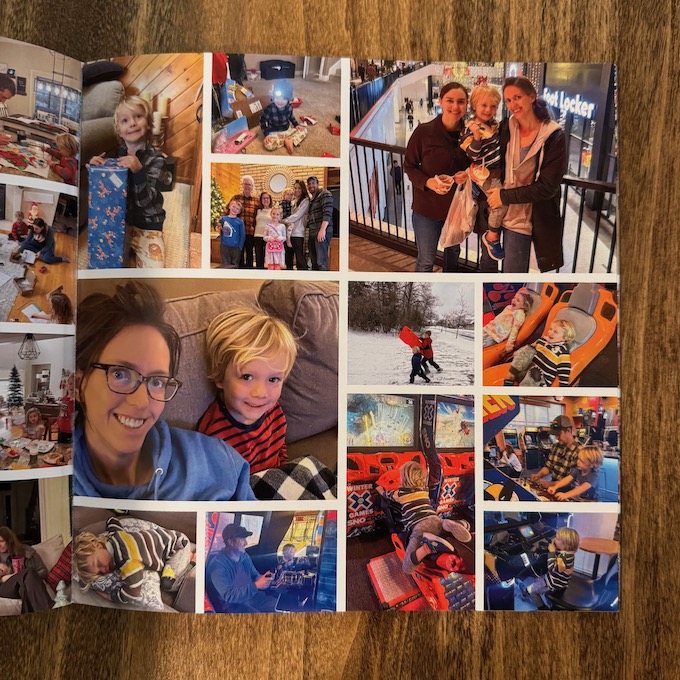
I start with a blank book and usually just alternate between two page layouts that hold 12-13 photos per page. You can easily change the layout for each page, add more pages and crop or center each photo to your liking. Simply choose the layout you want and drag and drop the photos where you want them to go.
To make it even easier, you can use their auto-fill option and it will randomly place photos to fill in the layout you select.
Step 5: Save the drafts
That’s it! Just hit save, repeat the process for each book and you’re done! This whole process takes me no more than 20 minutes total each month to update 4 photo book drafts.
Best Photo Books Online: Why I Chose Mixbook
If you stick with this process and spend just a couple of minutes each month on your photo books, by the time the end of the year rolls around, it’s so easy to just fill in the last month’s worth of photos and order your books!
I have tried multiple online photo book companies like Shutterfly, Chatbooks and Snapfish and I find Mixbook to be best for:
- Page layouts – they have so many to choose from, there’s sure to be one to fit your needs
- Ease of use – both their app and website are so easy to use and make creating photo books super easy
- High quality but budget-friendly
The quality of the Mixbook photo books is so good. Every page is crisp and clear and the layouts always come looking exactly how you placed them. And they frequently have great sales.
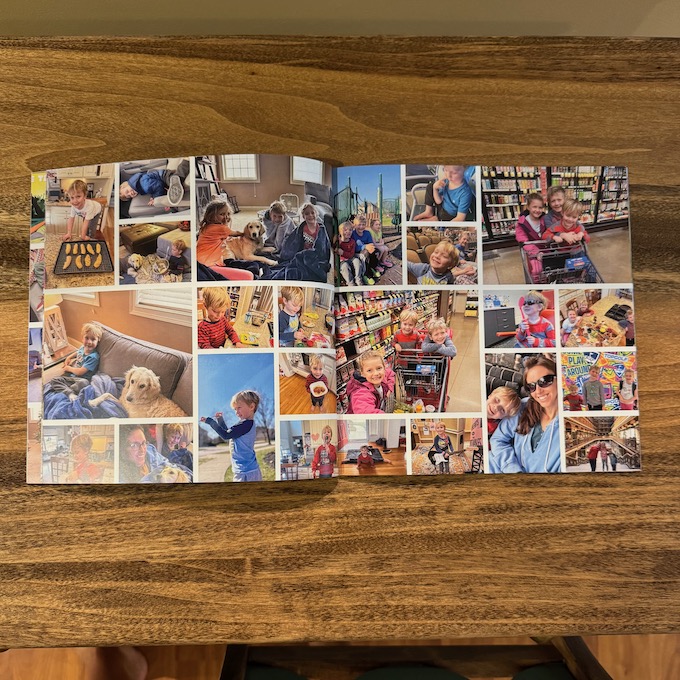
Photo Books By Year FAQs
Any tips for designing photo books kids will love?
My kids absolutely love looking through their photo books. We usually pull them out once a year, especially when their new ones come – they love looking at the ones from when they were little. They’re also great for inspiration and often remind us of fun activities that we haven’t done in a while.
You can keep the layouts simple like mine, or choose books with a theme (perhaps to recap a special trip or vacation) or choose layouts with text so you can add memories and other thoughts.
Why softcover vs hardcover for kids’ photo books?
I choose softcover for my kids simply because they take up less space. In theory, I’ll make one for them each year through high school graduation. When they move out, they can take them with them and the entire stack will take up only as much space as a large textbook.
For my own books, I display them on the bookshelf and I’m not really concerned about saving space so I choose hardcover for the durability.
Are custom photo books worth it vs pre-made albums?
I think it depends how many photos you want to use. For me, I am usually trying to cram in as many photos as possible. I’m not interested in adding text, so I choose to start with a blank book and add lots of photos on each page.
If you have a smaller number of pages, pre-made albums could be a great option for you to use and not have to add a lot of extra pages.
What’s the best way to catch up on photo books if you’re behind?
If you’re really behind, there’s probably not a huge reason that you need to get them done immediately. I would suggest doing my same 5-step process but do it for both the current year and the year previous at the same time. Just tackle one month at a time and simultaneously make books for both 2024 and 2025. Then, next year, you can do your 2026 books and a book for 2023. Eventually, you’ll be all caught up!
I highly recommend this practical 5-step process for creating the best photo books for kids using Mixbook.
If you want to try this system, head over to Mixbook and start your first custom photo book today. It’s the easiest way to stay organized and make sure your kids have the best photo books to look back on for years to come.
From 9/2/25 – 12/31/25, you can use this affiliate link and the code “MIXLEAN50” for up to 50% off and free shipping on orders over $79!
Enjoy!
–Lindsay–


